
I've wanted to do a gallery wall of family photos for the longest time. I have a whole Pinterest board filled with inspiration, but the idea of committing to a design and nailing all those holes in the wall made me cringe. I knew I wanted the flexibility to change things up, so picture ledges were the perfect solution!

The upstairs hallway at our townhouse is long and wide, the perfect spot for a gallery wall.

Kevin got a jump start by marking off the studs along the wall.

We were making two ledges and I wanted them as long as possible. We purchased two 1 x 4's, two 1 x 3's and two 1 x 2's and we were careful to pick the straightest boards possible. They were all ten feet long, the longest boards we could find at Lowes. I gave all the boards a light sanding before we began putting them together.

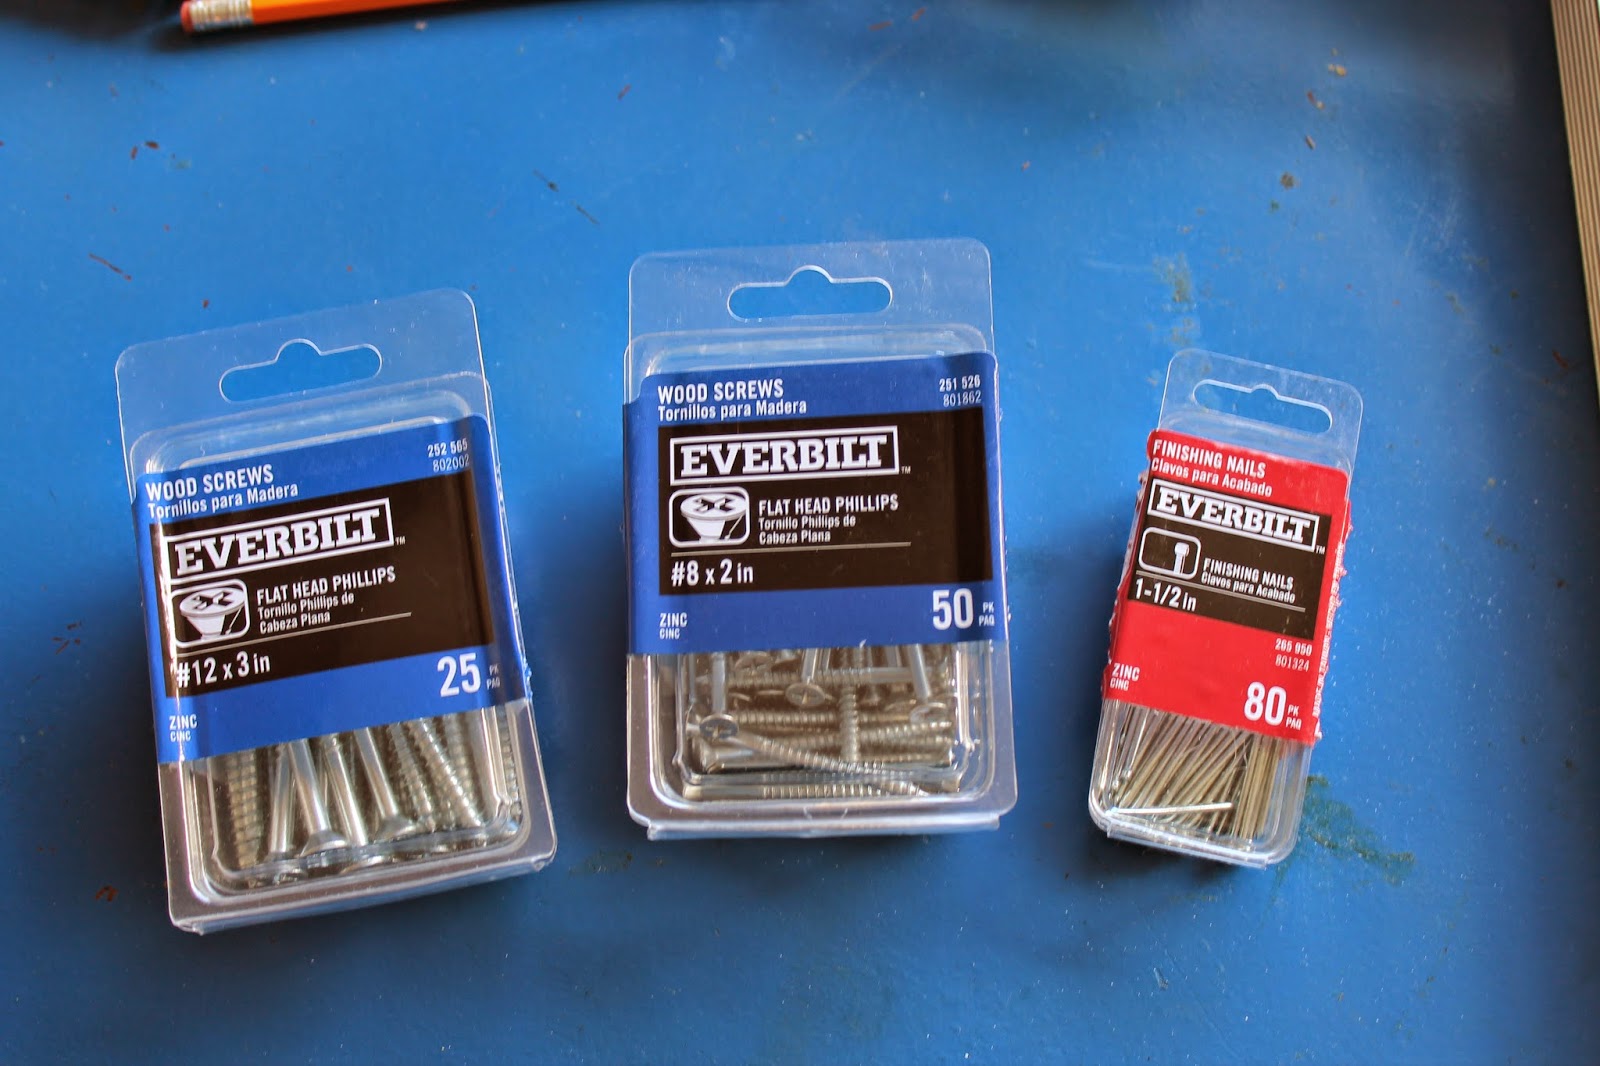
We also purchased two packs of wood screws and a pack of finishing nails.
The construction of the ledges was pretty simple.

We attached the back boards (1 x 4's) with a bead of wood glue and the 2 inch screws every 10 inches.

The front boards (1 x 2's) were attached with a bead of glue and the finishing nails every 6 inches. We tapped the nails in and filled the holes with putty before painting for a nice finished look.

I primed, then painted the ledges with two coats of Sherwin Williams Pure White, the same color as all the trim in the house.

*I've seen plans for photo ledges using 1 x 4's for both the back board and the bottom board. At one point, that's exactly what we had in our cart at Lowes. But the longer I stood there and thought about it, that just seemed too big. I wanted to be able to layer the frames, but not have the ledges stick out from the wall any more than necessary. I think this size works really well. I am so glad we went with the 1 x 3's for the bottom board.

I purchased some really inexpensive frames from Michaels. To start out I'm using all black frames with off-white mats for a uniform look. I may mix in other frames later, but this was a good starting point.

I cut out some craft paper in the sizes of the frames to get an idea on the spacing for the ledges.

We decided the lower ledge would be 32 inches from the floor and the higher ledge would be 57 inches from the floor.

The ledges were then screwed into the studs (through the back boards, every 16 inches) using the 3 inch screws. We did not recess the screws as they will be covered by photos, but I did dab a bit of white paint on each screw head. I couldn't wait to prop up some frames. Even with a wall of sunflowers, I was totally thrilled with the results!

This gallery wall has a very specific theme. Our townhouse is in our college town - a place very near and dear to our hearts. Kevin and I met at Penn State in the fall of our senior year, 37 years ago. We fell in love with each other and this place all at the same time. We've been coming back ever since and both of our children are now Penn State grads too. This summer, the weekend that we build these picture ledges, Baby Clare made her first trip to Penn State.

Maybe one day she'll be a Nittany Lion too!

I've barely made a dent in sorting through 37 years of photos.
This will definitely be a work in progress. And that's why the picture ledges are so perfect!

There have been tailgates and whiteouts, bowl trips and graduations, cheers and tears, love and laughter shared with family and friends!

These family photos tell a very special part of our life story!

I'm sharing with ...
My Repurposed Life
Scrapality
Reasons To Skip The Housework
Finding Silver Pennies
Dwellings
Coastal Charm
Domestically Speaking
Three Mango Seeds
The Blissful Bee
The Shabby Nest
The 36th Avenue
Dimples and Tangles
Liz Marie Blog
DIY Showoff

19 comments:
love it sharon! i built similar small ledges in emmy's room and love them! i need to do something like that in my living room, too, so i can change out pictures more easily.
The frames on ledges turned out great and how lovely that they have that theme.
Beautiful, Sharon! What a fun family history.
These are a brilliant way to get those pictures out of 'the cloud' or wherever they are stored and also decorate a long hall! And by doing it yourself, do you know how much money you saved??? I have 2 36" inch gallery shelves from PB...Can I just say it was not a very frugal purchase? :) Well done!
Robin
I love the stacked photo look. These turned out great. I'm sure the children and grandchildren will enjoy this wall as much as you do!
What a touching post! Every time you walk up the stairs, you'll be reminded of all those wonderful memories. You'll be so glad you made your ledges wide enough to layer (I speak from experience because we didn't.) And how smart to use paper to figure out the spacing. I think your black frames look really classic and let the photos themselves shine. Great project, Sharon!
I just love the idea of picture ledges! Makes it easier to add new pictures to the collection. This is an amazing tutorial!
i love the theme of these ledges. the boyfriend is a penn state grad, and it has served him well. 12 years ago, when he was interviewed his boss told him it came down to him and another guy...but he went to penn state, like his boss. and that was that.
Wow, Sharon!
Your photo ledges (and photos) look great! You certainly have the hall wall space for it.
It's such a great idea!!!
Thanks for the inspiration :0)
Have a great weekend,
Suzanne
What I really like about the most is the fact you can change it up anytime you need or feel like it. I love that! I love to change things around and this allows for that without pounding new holes in the walls. That's a huge bonus, awesome.
Thanks so much for linking up to my new linky party, Scraptastic Saturday.
So many times you inadvertently solve my life's decorating dilemmas for me. And I truly thank you! Your posts always inspire creative "fixes" for something around here. These are a marvelous idea! Since our move, I still have boxes filled with photos that I didn't know how to hang. Problem solved! Many, many thanks.
Cheri
Picture ledges are perfect for switching out pics! My friend is about to redo her wall, I'm going to suggest this to her!
great post Sharon, super project!
gail
What a great idea! Looks wonderful :)
Susan
What a great idea! I may just steal this for the cottage!
Love the picture ledger! Great idea Sharon and thanks for the tutorial.
Oh I love those. That would work so nicely anywhere. Great job and looks so simple.
I love these and they look so easy to make - I might even be able to do it without my hubs!
Thanks for sharing!
Shelia
Are those front boards really 1x1?
I love that you DIY'd your ledges to get the size and look you want - they look great! And you have the perfect spot for them to boot! Love the idea of being able to change the photos out easily so you can display new ones rather than just shoving them in a photo album or never printing them out. So glad you shared this DIY over on Best of the Nest!
Post a Comment